The Ultimate Guide to Laying Sod: 5 Essential Tips You Should Know

Laying sod seems simple: roll it out, water it, and enjoy a fresh green lawn. But anyone who’s actually tackled sod installation knows there’s more to it than meets the eye. At Mendenhall Professional Services, we believe in doing things right the first time. Whether you’re looking to refresh your yard, repair patchy spots, or lay sod for the very first time, these practical tips can make the difference between a thriving lawn and one that struggles from day one.
Here’s what you need to know to lay sod like a pro.
1. Sod Is on a Clock—Act Fast
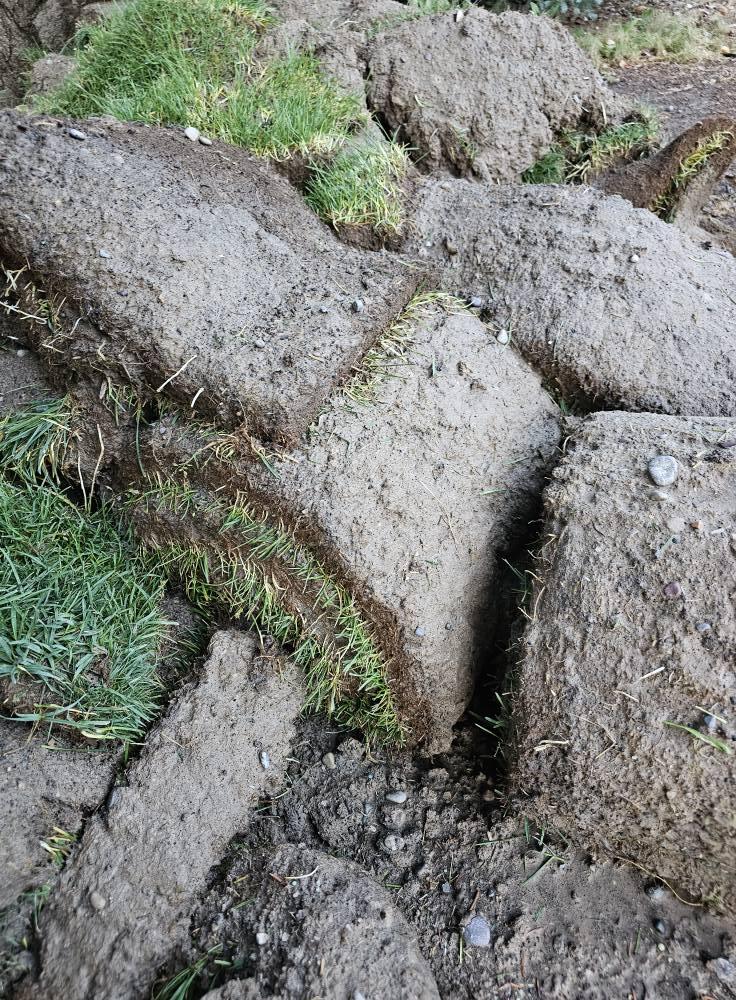
Sod isn’t designed to sit around. Once it’s harvested, cut, and rolled, the countdown begins. You have about 24 hours to get that sod on the ground before it starts to dry out, overheat, or rot—especially during warm weather.
If sod sits on the pallet too long, the grass blades begin to yellow, the roots dry out, and fungus or mold can start to develop between the tightly rolled layers. What looks like fresh, healthy sod at delivery can turn into a brown, brittle mess by the next day if left unattended.
When your sod is delivered:
Be prepared to lay it immediately.
Make sure your soil is prepped and your tools are ready.
Prioritize shady spots first if the weather’s hot.
Water sections as you go to keep them cool and moist.
It may seem like a rush, but acting quickly is the best way to ensure your sod roots properly and grows into a beautiful, lush lawn.
2. Good Prep Work is Half the Battle
A healthy, smooth lawn doesn’t start with the sod—it starts with what’s underneath. Skimp on preparation, and you’ll end up with a lawn that struggles to root, drains poorly, or grows in lumpy and uneven.
Here’s what you need to do before the first roll of sod touches your yard:
Clear the Area: Remove all rocks, roots, old grass, and weeds. Any debris left behind can interfere with sod contact and rooting.
Loosen the Soil: Till or rake the top 4–6 inches of soil. This allows new roots to penetrate easily. Compacted soil prevents healthy root growth and water absorption.
Level the Surface: Smooth out dips and bumps. Remember—sod won’t magically make your yard level. If the soil is uneven, your lawn will be too.
Adjust the Soil Quality: Consider adding compost or fresh topsoil to improve texture and nutrient content. Test your soil’s pH if you want to get technical—most grasses prefer a pH between 6 and 7.
Taking the time to properly prep the soil pays off with a healthier, more resilient lawn that requires less maintenance in the long run.
3. Watering is Critical—More Than You Think
One of the biggest mistakes people make with new sod is not watering enough. Fresh sod is thirsty—it’s just been cut from its growing field and needs constant moisture to stay alive and start rooting into your yard.
For the first 7–10 days, water every day—sometimes twice a day if it’s especially hot or dry. You want the soil beneath the sod to stay moist at least 3–4 inches deep. When you lift a corner of the sod, the soil below should feel damp, not dusty.
Here’s a general watering guide:
Days 1–7: Water lightly 2–3 times a day.
Days 8–14: Water once daily, soaking deeply.
Days 15–21: Water every other day, depending on rainfall and weather conditions.
After 3 weeks: Resume normal lawn watering—1 inch per week, including rainfall.
Watch for signs of over or under-watering. Mushy, soggy sod can rot, while dry, curling edges mean it’s not getting enough. Consistency is key to keeping the roots healthy and growing.
4. It May Look Finished, But It’s Not
After you’ve laid the sod, watered it well, and stood back to admire your fresh new lawn—it may look ready for action. But don’t be fooled. For the first two to three weeks, that sod is like a sleeping baby. It needs peace, quiet, and time to settle in.
During this time:
Avoid walking on the sod.
Keep pets and kids off the lawn.
Don’t mow until the roots have started to grow into the soil, usually after 14–21 days.
When mowing for the first time, set the mower high and trim no more than the top third of the grass blade.
Stepping on fresh sod can cause the grass to shift, tear, or leave depressions that stay permanently. Until the roots take hold and bind the sod to the soil below, treat your new lawn like it’s fragile—and give it the space and time it needs to thrive.

5. Lay Sod Like Bricks, Not Tiles
How you lay sod affects its long-term appearance and health. For the strongest, most uniform lawn, lay sod in a staggered pattern—like bricks—not in long, even seams like tiles.
Why stagger the seams?
It prevents long visible lines across your lawn.
It improves stability as the sod pieces lock together.
It reduces gaps that can dry out and kill edges.
It encourages better root connection between pieces.
When laying sod:
Start along a straight edge—like a driveway or sidewalk.
Lay full pieces end to end, but stagger the seams in each new row so they don’t line up directly.
Push the edges tightly together, but don’t overlap.
Trim excess pieces with a sharp knife to fit curves or corners.
Use a lawn roller or walk lightly over the sod after laying to help press it into the soil.
Carefully laid sod creates a smoother, healthier lawn with fewer weeds, fewer dry patches, and a better appearance overall.
Bonus Tips for Laying Sod Like a Pro
If you want your sod to look like it was installed by professionals, here are a few extra tips we always follow:
Fertilize Before Laying: A starter fertilizer applied before sod installation gives roots a nutrient boost.
Water As You Go: On hot days, lightly mist each section as you lay it to prevent drying.
Use a Lawn Roller: A roller helps press sod into the soil, removing air pockets and improving root contact.
Edge Neatly: Sharp, clean cuts around sidewalks and flower beds make the lawn look finished.
Watch for Air Gaps: Be extra careful with seams—spaces can dry out quickly and cause visible brown lines later.
Plan Your Traffic: Lay sod farthest from your exit point first, so you don’t walk over finished sections.
Test Soil Drainage: Before sod arrives, soak the yard and see if water pools or drains too slowly. Fixing drainage problems first can prevent headaches later.
What to Expect After Laying Sod
It takes about four to six weeks for sod to fully root and start behaving like a normal lawn. During that time, it will need extra care and attention. Here’s what to watch for:
Color Changes: Yellowing usually means lack of water or stress. Adjust your watering schedule if needed.
Soft Spots: Areas that feel squishy or muddy may be overwatered. Let them dry out slightly.
Weeds: You may see a few pop up. Hand-pull or spot-treat—don’t use strong weed killers until the lawn is well established.
Growth Spurts: Once rooted, the lawn will start growing vigorously. This is your signal that it’s ready for normal mowing and care.
Why Trust Mendenhall Professional Services?
At Mendenhall Professional Services, we’ve handled everything from small backyard sod projects to large-scale commercial installations. We know what works—and what leads to disappointment. Our commitment to doing the job right the first time means your lawn gets the best start possible.
If you’re planning to lay sod yourself but have questions, or if you want the peace of mind that comes from having professionals handle the job, we’re here to help. From site preparation to final watering and care instructions, we’ve got you covered.
Call us today at (208) 881-4807 or visit our website to learn more about our sod installation and landscaping services. We’d be happy to give you a quote or advice on making your yard the best it can be.
Laying sod can seem like an easy weekend project, but doing it well requires patience, planning, and attention to detail. With the right approach—timing the installation carefully, preparing the soil thoroughly, watering consistently, and giving the sod time to root—you’ll set yourself up for a green, thriving lawn that lasts for years to come.
If you want help transforming your outdoor space, reach out to Mendenhall Professional Services. Whether it’s a small backyard or a sprawling property, we’ll make sure your sod gets off to the best start possible.
